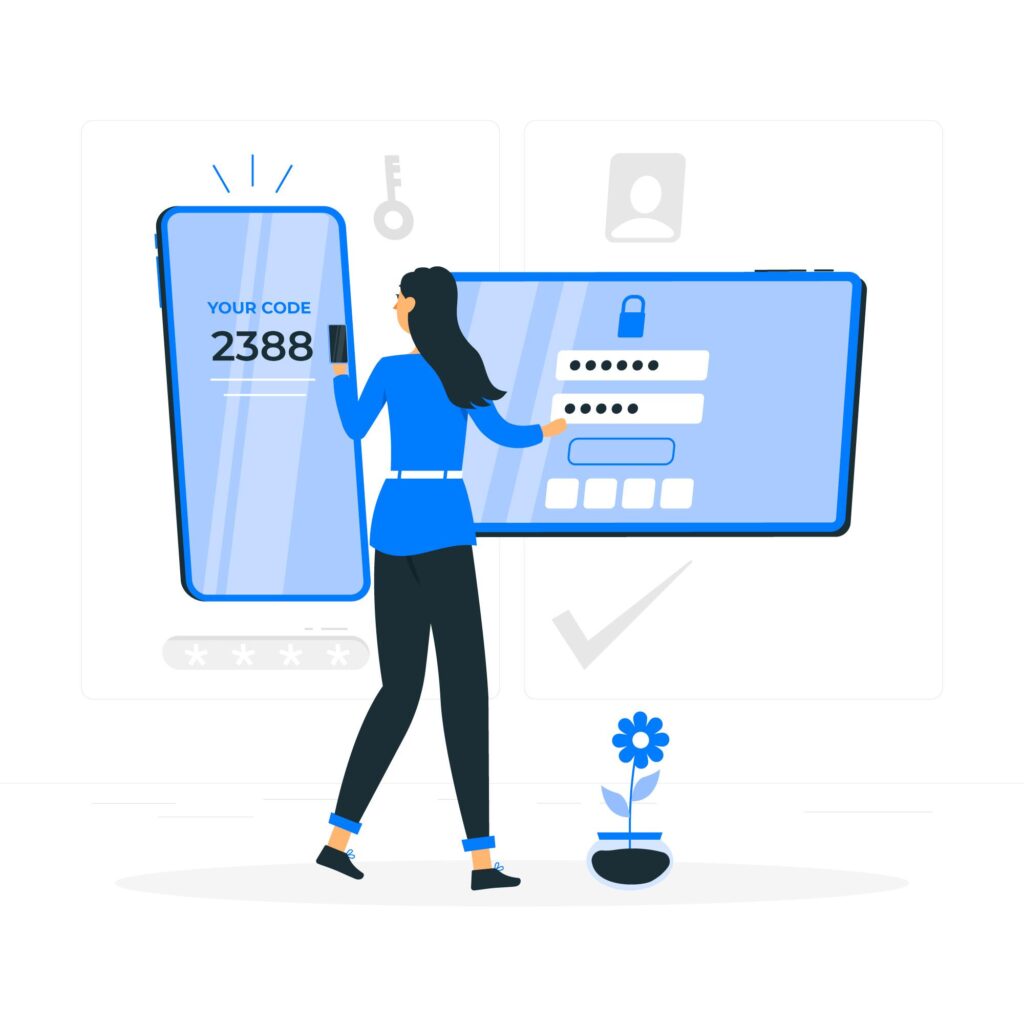
Ensuring your online account is secure is essential, and enabling Two-Factor Authentication (2FA) is one of the most effective ways to protect it from unauthorized access. By requiring a second form of verification beyond just your password, 2FA adds an additional layer of security to your account. Here’s a step-by-step guide on how to set up 2FA on your customer account, providing a more robust defense against potential threats.
Step 1: Access Your Account Profile
To begin the process, log in to your customer account as usual. Once you’re logged in, navigate to your account settings. From there, click on the Profile dropdown located at the top of your dashboard. In the dropdown menu, you will see an option labeled Security Settings. Click on it to move forward with securing your account.
Step 2: Start the 2FA Setup
On the Security Settings page, you will find the section dedicated to Two-Factor Authentication (2FA). If you haven’t enabled it yet, you will see an option that says “Click here to enable”. This option will initiate the process to secure your account with 2FA. Click on this link to proceed with the setup.
Step 3: Initiate the Setup Process
After clicking to enable 2FA, you will be prompted with a button that says “Get started”. This is the next step in the configuration process. Clicking this button will guide you to the next screen where you will begin linking your account with a two-factor authentication method.
Step 4: Set Up the Authenticator App
To enable 2FA, you’ll need to use an authentication app like Google Authenticator or Microsoft Duo. These apps generate time-sensitive codes that act as your second factor of authentication. If you don’t already have one of these apps, download Google Authenticator or Microsoft Duo from the App Store or Google Play Store on your mobile device.
Once installed, open the app and follow the instructions to add your account. You will be asked to scan a QR code displayed on the screen. After scanning the code, the app will begin generating verification codes specific to your account.
Step 5: Input the Authentication Code
Now that you have linked your authenticator app to your account, it’s time to enter the authentication code generated by the app. This code will typically expire within a short period (usually 30 seconds), so ensure you enter it quickly. Once entered, the system will confirm that the 2FA setup has been successfully linked to your account.
Step 6: Save Your Backup Code
While setting up 2FA significantly improves your account’s security, there’s always a possibility that you might lose access to your mobile device or authentication app. To mitigate this risk, you will be provided with a Backup Code during the setup process. This code can be used to regain access to your account in case you lose your phone or can no longer access your authenticator app.
Important: Store the backup code in a safe, secure location—preferably offline or in a password manager—so you can retrieve it if needed. It’s important not to share this code or store it in an insecure place to maintain your account’s security.
Final Setup
Once you’ve entered the authentication code and saved your backup code, your 2FA setup will be complete. From now on, whenever you log in to your account, you will be prompted to enter the authentication code from your mobile device. This added layer of security ensures that even if someone obtains your password, they won’t be able to access your account without the second authentication factor.
With 2FA enabled, your account is now much safer against unauthorized access, giving you peace of mind knowing your sensitive information is protected.